Product details description
Embedding anchor bolts into freshly poured concrete is a foundational task
for securing posts, machinery, structural columns, and fencing systems. Doing it
correctly ensures a lifetime of holding power; mistakes can lead to weak
connections, safety hazards, and costly repairs. The process requires precision
in timing, placement, and technique during the concrete pour and initial
cure.
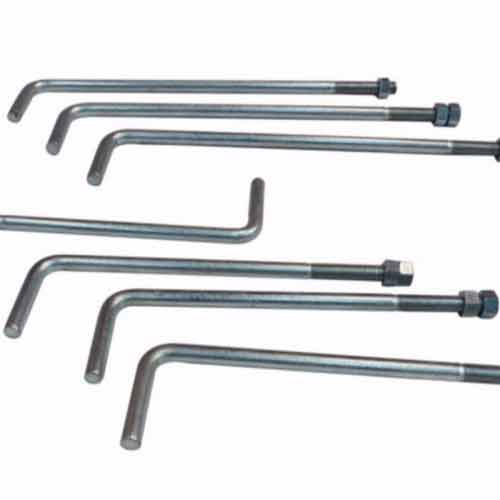
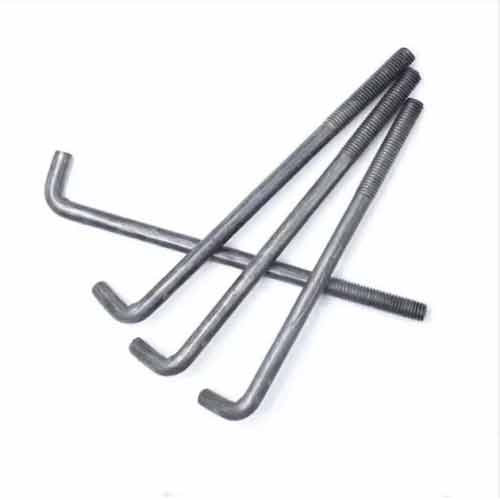
The preparatory stage is critical. Before the concrete truck arrives, have
all tools and materials ready: anchor bolts (typically J-bolt or L-bolt style
with a hooked end), templates or jigs, a tape measure, a level, and a wrench.
Plan the exact layout on paper and then transfer it to the concrete forms. The
most accurate method is to use a rigid template—a piece of plywood or metal with
holes drilled at the precise bolt locations. This template is secured to the top
of the forms, ensuring all bolts are perfectly aligned and spaced before the
concrete is even poured.
Timing is everything. Anchor bolts must be placed while the concrete is
still plastic—workable but not soupy. This is typically within 20-60 minutes
after pouring, depending on conditions. Insert the bolts through the template
holes so the threaded end protrudes to the required height (accounting for
washers and nuts). The embedded hooked end should be oriented correctly (hook
facing inward or as specified) and submerged deep enough—usually a minimum of 7
times the bolt diameter for standard loads. Gently tap the bolt down until it
reaches the desired depth, ensuring it is perfectly plumb using a small level on
two sides. Do not hammer vigorously, as this can displace the concrete around
the bolt, creating a weak zone.
For fence posts or column bases, a common challenge is maintaining
alignment as the concrete sets. After placing the bolts and verifying their
position, do not disturb the concrete. Avoid walking on the forms or applying
any lateral pressure to the bolts. The template should remain in place for at
least 1-2 hours, or until the concrete has stiffened enough to hold the bolts
firmly. Once the concrete has initially set (you can no longer make an imprint
with your thumb), you can carefully remove the template. Cover the concrete with
plastic sheeting or curing compound to ensure a slow, proper cure, which
develops maximum strength and bond around the bolts.
Post-installation, protect the bolt threads. Immediately after removing the
template, clean any wet concrete splatter from the exposed threads with a wire
brush and then screw a nut on each bolt, covering the threads completely. This
protects them from damage during subsequent construction and prevents concrete
from hardening on the threads, which would make final assembly impossible. Wait
the full recommended cure time for the concrete (usually 7-28 days for full
strength) before applying any significant torque or load to the anchor bolts. A
properly embedded bolt will be rock-solid and provide a reliable connection for
decades.
Previous article:
Securing Structures Firmly with Anchor Bolt Concrete
Next article:
Anchor Bolt Installation Techniques: Proper Methods for Concrete Foundation Applications